Showing posts with label Baked Goods. Show all posts

Tuesday, April 3, 2012

What is Truly Artisan?

You've probably noticed as I have that products on grocery store shelves have increasingly featured the words "Artisan" this or that.

So what does it mean to have artisan pizza, bread, chocolates, etc.?

There is no guidance or oversight for the use of the word "artisan", so technically a food company could use it on whatever they choose.

A generally accepted description of an artisan product would be one that is handmade (you would probably know the person or at least where the business is located), contains whole unprocessed ingredients,  prepared using traditional methods of cooking/baking, and usually in small quantities.

If the item doesn't fit the generally accepted description above, (and almost all of the grocery store stuff won't), it just isn't an artisan product.

For the real deal, check out local bakeries, farmers markets, and off-the-path restaurants.  You'll know when you've found it.

Thursday, March 22, 2012

Easy Homemade Pretzels

This is a fun way to engage the kids (our yourself!) in making a homemade, relatively healthy, treat this weekend.

I found the recipe at www.kingarthurflour.com (and only recommend their flour).  Their bakers also blog about their experience making these pretzels here.

I used a bread machine to make the dough, but can just as easily use a stand mixer or your hands.  Here is the recipe from KingArthur's web site (using my photos):


dough
  • 2 1/2 cups King Arthur Unbleached All-Purpose Flour
  • 1 teaspoon salt
  • 1 teaspoon sugar
  • 2 1/4 teaspoons instant yeast
  • 7/8 to 1 cup warm water*
  • *Use the greater amount in the winter, the lesser amount in the summer, and somewhere in between in the spring and fall. Your goal is a soft dough.

topping

  • 1 cup boiling water
  • 2 tablespoons baking soda
  • coarse, kosher or pretzel salt, optional
  • 3 tablespoons unsalted butter, melted
Finished Pretzel Dough in Bread Machine
1) To make dough by hand, or with a mixer: Place all of the dough ingredients into a bowl, and beat until well-combined. Knead the dough, by hand or machine, for about 5 minutes, until it's soft, smooth, and quite slack. Flour the dough and place it in a bag, and allow it to rest for 30 minutes.
2) To make dough with a bread machine: Place all of the dough ingredients into the pan of your bread machine, program the machine for dough or manual, and press Start. Allow the dough to proceed through its kneading cycle (no need to let it rise), then cancel the machine, flour the dough, and give it a rest in a plastic bag, as instructed above.
Finished Pretzel Dough Resting for 20 Minutes
3) To make dough with a food processor: Place the flour, salt, sugar and yeast in the work bowl of a food processor equipped with the steel blade. Process for 5 seconds. Add the water, and process for 7 to 10 seconds, until the dough starts to clear the sides of the bowl. Process a further 45 seconds. Place a handful of flour in a bowl, scoop the slack dough into the bowl, and shape the dough into a ball, coating it with the flour. Transfer the dough to a plastic bag, close the bag loosely, leaving room for the dough to expand, and let it rest at room temperature for 30 minutes.
Dough Pieces Ready to be Made into Pretzels!
4) While the dough is resting, prepare the topping: Combine the boiling water and baking soda, stirring until the soda is totally (or almost totally) dissolved. Set the mixture aside to cool to lukewarm (or cooler).
5) Preheat your oven to 475°F. Prepare a baking sheet by spraying it with vegetable oil spray, or lining it with parchment paper.
6) Transfer the dough to a lightly greased work surface, and divide it into eight equal pieces (about 70g, or 2 1/2 ounces, each).
7) Allow the pieces to rest, uncovered, for 5 minutes. Pour the baking soda/water into a 9" square pan.
Little Hands Love Rolling Pretzel Dough
8) Roll each piece of dough into a long, thin rope (about 28" to 30" long), and twist each rope into a pretzel. Working with 4 pretzels at a time, place them in the pan with the baking soda/water, spooning the water over their tops; leave them in the water for 2 minutes before placing them on the baking sheet. This baking soda "bath" will give the pretzels a nice, golden-brown color.
9) Transfer the pretzels to the prepared baking sheet. Sprinkle them lightly with coarse, kosher, or pretzel salt, if desired. Allow them to rest, uncovered, for 10 minutes.
Salted and Ready for Baking on Parchment Paper
10) Bake the pretzels for 8 to 9 minutes, or until they're golden brown.
11) Remove the pretzels from the oven, and brush them thoroughly with the melted butter. Keep brushing the butter on until you've used it all up; it may seem like a lot, but that's what gives these pretzels their ethereal taste. Eat the pretzels warm, or reheat them in an oven or microwave.
Hot Buttered Pretzels!
Yield: 8 large pretzels.

nutrition information

Serving Size: Servings Per Batch: 8 Amount Per Serving: Calories: 171 Calories from Fat: Total Fat:4.7g Saturated Fat: Trans Fat: . Cholesterol: 12mgSodium: 888mg Total Carbohydrate: 27g Dietary Fiber:1g Sugars: 1g Protein: 4g.
* The nutrition information provided for this recipe is determined by the ESHA Genesis R&D software program. Substituting any ingredients may change the posted nutrition information.

Tuesday, February 7, 2012

Red Velvet Cake with No Dye

Valentine's is bearing down on us and with it comes the usual dessert suspects.  One popular dessert this time of year is red velvet cake.

Red Velvet cake has always been made with natural cocoa that reacts with the acidic vinegar and buttermilk to reveal a very slight shade of red in the cocoa's naturally occurring anthocyanin.  This is probably where the "red" in red velvet originated.

The famous cake wasn't always the bright shade of red we expect today and its storied history is debatable.

We do know that the advent of food dyes significantly aided the enhanced appearance of red velvet cake, but many have valid concerns over the use (a whole bottle or two for this cake) of this unnatural man-made chemical.

I set out to find a recipe that used natural coloring and ingredients to recreate this cake while maintaining the bright red color and discovered a blog by Jaime at www.sophistamom.com with specific directions on how to make this cake using beets -- yes, beets.  Jaime adapted her recipe from Amy's recipe at www.bakecakery.com.

I gave Jamie's recipe a try ahead of the big day and it was a hit with our family and guest.  Here are the steps (complete ingredient list is at the bottom):

Buy a bunch of beets from a farmer or store. 
Trim the beets and toss with 1/2 cup of water in an oven-safe dish.  Cover with aluminum foil and heat in an oven for 90 minutes at 350 degrees.
In a separate bowl, whisk together 2 cups all-purpose flour (I used King Arthur cake flour),  1 1/2 tsp. baking powder, 1 1/2 tsp. kosher salt, and 2 Tbs. of cocoa powder (NOT Dutch Processed with Alkaline).  Set bowl aside.
When the beets are done, use a sharp knife and skin them.  The outside skin should easily scrap off.  You can also skip this step and just peel the beet before heating if you wish.
Once skins have been removed, dice the beet into large chunks and place in the refrigerator to cool.
Grease (I used spectrum organic all vegetable shortening) three 8" round pans and dust with flour.
To dust with flour, I dropped a good amount of flour in each pan and shook the flour around until everything was well coated and then shook the excess off.
Place 1/4 cup fresh lemon juice (about the juice from one large lemon) into your blender (I used the Vitamix) or food processor.
Pour remaining liquids from your oven-safe dish into your blender too.
Then throw in your cooled beat chunks.
Blend on high for about 20-30 seconds, then add 1 Tbs. of vinegar and blend on low until incorporated.  The consistency should be like ketchup.  I got a little over one cup, but you can use up to 1 1/2 cups.
Place two sticks of unsalted butter and 1 package of cream cheese into your mixer with beater blade attached.  Cream together the butter and cream cheese and the slowly incorporate in 2 1/3 cups of sugar (I used powdered sugar) until smooth.  Then add in four eggs one-at-a-time, scraping down the bowl as necessary.  Finally add 1 1/2 tsp. of vanilla and mix until incorporated.  Then slowly add in the flour mixture you previously whisked together.
Finally, add your 1 - 1 1/2 cups of beet blend to the batter until fully incorporated.
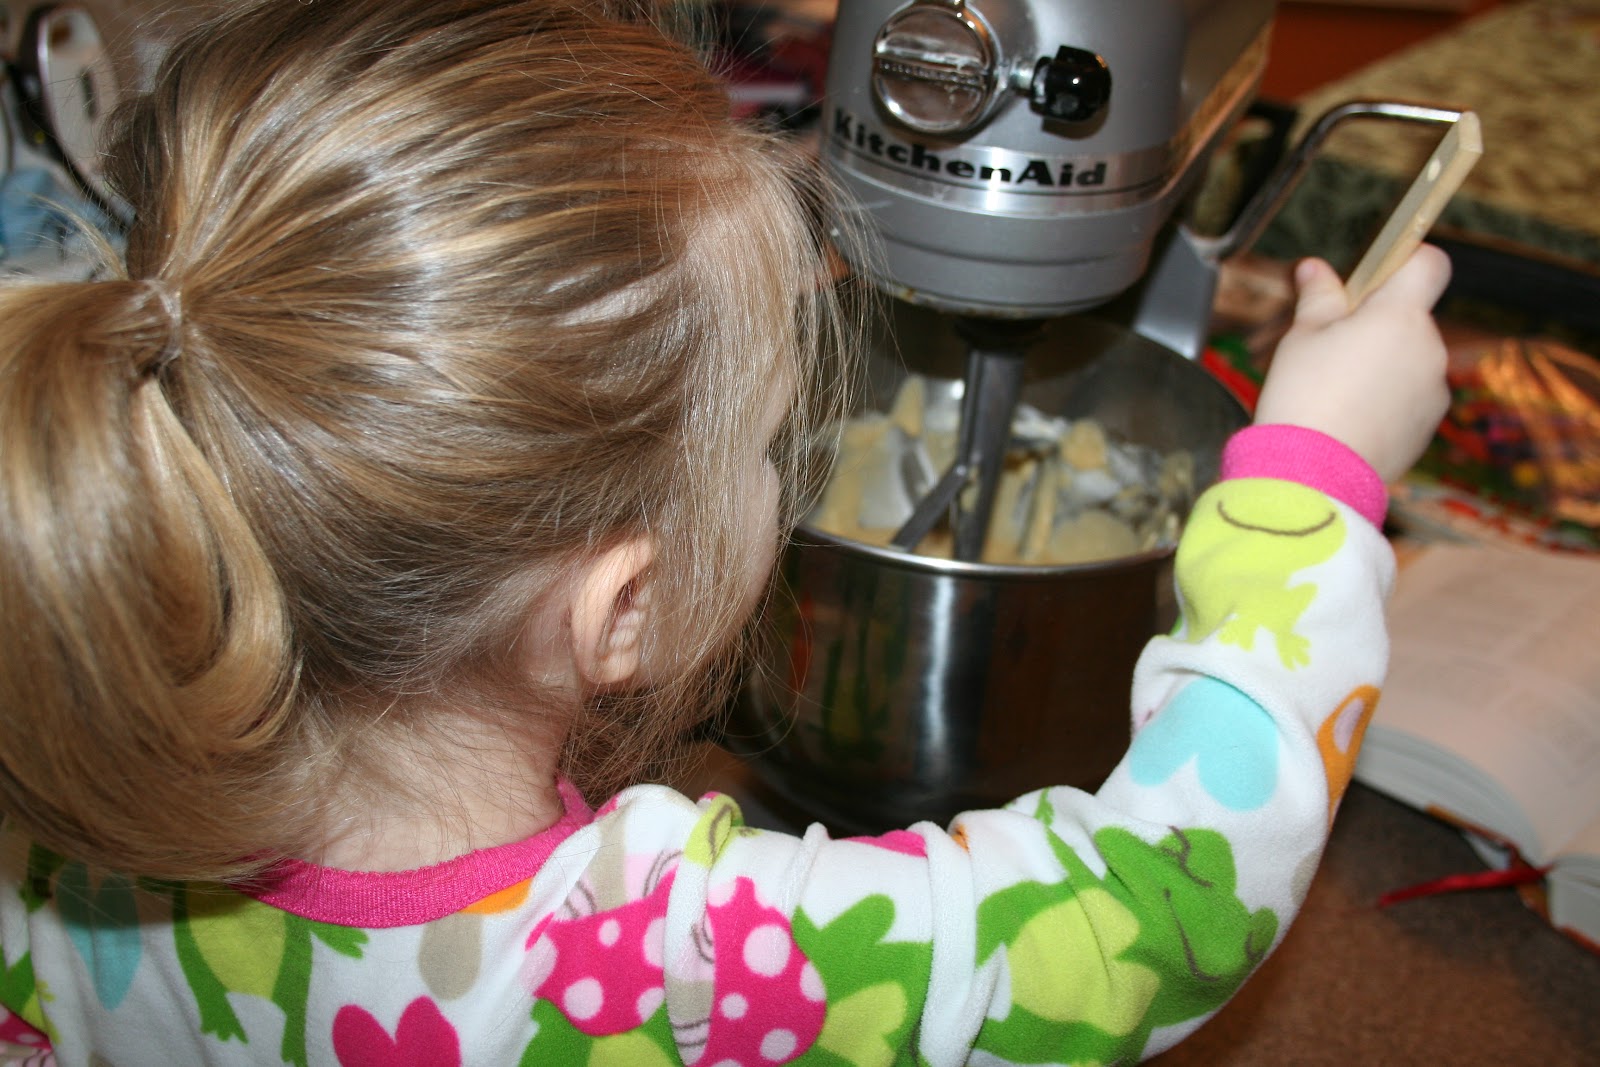
Kids love to help make baked goods, but know that beets stain everything!
Spread equal amounts of batter in each of the three pans and place in a 350 degree oven for 30-35 minutes on the middle racks.  The cakes are one when a toothpick pulls out clean.
If you greased and flour the pans, the cakes should easily release.  Cool them completely on drying racks.  If you do not plan to frost them right away after they are cooled, tightly wrap each one with plastic wrap and place it in the refrigerator.
For the frosting, place 2 cream cheese packages and 2 sticks of unsalted butter in the mixer with the beater blade again.  Beat the room temperature cream cheese and butter until incorporated.  Stop and add 4 cups of powdered sugar, 3 Tbs. of heavy cream, 1 tsp. pure vanilla extract and 1 tsp. pure almond extract.  Beat until incorporated.
Scrap down the sides of the bowl and replace the beater blade with the whisk.  Whisk on high for several minutes until the frosting becomes smooth and slightly fluffy.
Lay your first cake on the presenting dish and spread a thick layer of frosting across the top.  This frosting recipe makes plenty of frosting, so feel generous if you wish.
Repeat the process for each layer.
Finally, frost the sides and smooth the surface as you wish it to look.
Your finished!  A delightful red velvet cake using all natural ingredients and no artificial chemicals for coloring!
Now enjoy your work.
Happy Valentine's (or any special day) to you!
Dig in!


Ingredient list:

Cake:
Beets (enough for 1 1/2 cups of puree)
1/4 cup of freshly squeezed lemon juice (I used organic)
1 Tbs. vinegar
2 sticks (16 Tbs.) of unsalted butter, softened
1 8-ounce package of cream cheese, softened
2 1/3 cup of sugar (I used powdered)
4 eggs (I used organic free-range)
1 1/2 tsp. pure vanilla extract
2 cups unbleached all-purpose flour (I used King Arthur cake flour from any good grocery store)
1 1/2 teaspoons baking powder (I used Bob's Red Mill)
1 1/2 teaspoons kosher salt
2 Tablespoons (you can use more, but consequently start losing the red color) natural (don't use dark or Dutch processed) cocoa powder

Cream Cheese Frosting:
2 8-ounce packages of cream cheese,  room temperature
2 sticks (16 tablespoons) unsalted butter, room temperature
1 pound (4 cups) powdered sugar
3 Tbs. heavy cream
1 tsp. pure vanilla extract
1 tsp. pure almond extract

UPDATE (02/13/2012):

I made cupcakes for our son's class using the recipe above.  I made 1 1/2 times the recipe quantity above and it made 30 full-size cupcakes.  The batter doesn't rise as much as traditional batter, so fill each cupcake cup about 3/4 full before baking.

Tuesday, January 17, 2012

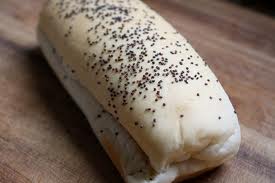
What's in a Grocery Store Hot Dog Bun?

I had a hot dog bun the other day from a large and widely distributed bun manufacturer in the Midwest.

I glanced at the ingredients listed on the bag and read this shocking ingredient list for my hot dog bun:
  1. Enriched wheat flour
  2. Water
  3. Corn syrup
  4. Soybean oil
  5. Yeast
  6. Salt
  7. Wheat gluten
  8. Mono and diglycerides (see ingredient 9)
  9. Ethoxylated Mono and diglycerides (emulsifier or fat substitute generally recognized as safe in the United States, but banned for use in foods in Europe.  
  10. Sodium stearoyl
  11. Lactylate
  12. Ascorbic Acid
  13. Calcium Peroxide (a bleaching agent)
  14. Polysorbate 60
  15. Azodicarbonamide (a synthetic compound used as a bleaching agent)
  16. Calcium Propionate (a preservative that is slightly toxic)
  17. Monocalcium Phosphate (agricultural fertilizer that is also a leavening agent)
  18. Calcium Sulfate (industrial chemical)
  19. Ammonium Sulfate (inorganic salt and artificial soil fertilizer)
I almost always make homemade buns for our family.  I will provide the recipe below at the end of the post, but check out my ingredients:
  1. King Arthur Bread Flour (not bromated or bleached)
  2. Water
  3. 1 organic, cage-free egg
  4. 2 tablespoons organic butter
  5. 1/4 cup organic sugar
  6. 1 teaspoon sea salt
  7. 1 tablespoon instant yeast
I would add links to explain all of my ingredients above, but I think you get it!

Without the added preservatives, I use the bun(s) I need at the moment and immediately freeze the remaining in a freezer-grade Ziplock bag for future use.  About 30 seconds in the microwave and they are good to go when I need them.  They keep in the freezer for up to six months, but never last that long.

I freeze our breads this way too.  After the loaf cools, I pre-slice the loaf and freeze the individual slices.  The slices come back to life nicely in the microwave for a few seconds or can go straight from the freezer to the toaster.

Now for the recipe.  This is a recipe originally posted by Ellen Dill on bakingcircle.com called "Beautiful Burger Buns".  While the recipe calls for the making of hamburger buns, it is easily adapted to hot dog buns too and will make about 12 hot dog buns rather than the 8 hamburger buns mentioned. And, of course, you will want to shape them as a hot dog bun.  Keep in mind the dough will almost double in size as it rests before baking.

Beautiful Burger Buns:


  • cup water
  • tablespoons butter
  • large egg
  • 3 1/4 cups unbleached flour
  • 1/4 cup sugar
  • teaspoon salt
  • tablespoon quick-rising yeast
  • teaspoon onion powder (optional)
  • 1/2 teaspoon dried onion flakes (onion)

Directions:

  1. 1
    Combine all the ingredients and mix and knead them together, by hand or by mixer, until you have a soft, smooth dough.
  2. 2
    Place the dough in a lightly greased bowl, cover and let rise for 1 hour.
  3. 3
    Divide the dough into 8 pieces and shape each piece into a flattened ball; place the buns on greased baking sheets, cover and let rise 30-40 minutes, until they're puffy.
  4. 4
    Preheat oven to 375°.
  5. 5
    Bake the buns for 12-15 minutes, until they're golden brown; remove from oven and baking sheet and cool them on a rack.
  6. 6
    Split and use for burgers or sandwiches.
  7. 7
    For burgers, butter the split sides and fry them, buttered side down, until they're golden brown and warmed through.


Saturday, December 24, 2011

Gluten Free Gingerbread House

The fun of building a ginger bread house is a tradition for our family, but our son (see about) always vomited on them after taking a few bites and my wife has a gluten sensitivity.

Given that these boxed creations were designed to sit on store shelves for 5 months, it's no wonder the preservatives and chemicals set him off.

So last year I set out to find a solution that would allow us to enjoy making a gingerbread house and that could be gluten free and contain only natural ingredients.

I discovered a gingerbread house bundt pan that would allow us to use a gluten free cake mix and better yet, use our own ingredients.  I was able to get ours at Michaels on clearance for $12 in the days following Christmas.  Given that this will see many many years of use the actual cost of creating a gingerbread house will be much less than buying a kit every year.

The kids helped in a whole different way this year creating their house.

We first, carefully greased the inside of the pan and in all the crevices using a sandwich bag over our hand.  After the greasing, scatter flour throughout the inside of the pan and shake out any access.  This will allow the finished cake to fall right out when it is done.

Then, let the kids fill in the ingredients and mix.

Pour the batter (9 cups or a traditional cake mix worth of ingredients) in to the bundt pan, give a quick shake side-to-side and it's ready to go in the oven.

We found that it took a few moments longer than a traditional cake to fully bake.  We inserted a skewer stick  into the center and pulled it out.  If no cake residue remains, it's done!

Wait a few minutes and then turn over on a cooling rack and the cake should fall right out.  And it looks beautiful!


 After the cake has cooled, you may decide to cut any bumps off the bottom for a flat presentation.  We just used a nice bread knife for this task.


Next, give the kids some frosting (we made our a bit runny for icicle/snow effect) and let them place an assortment of candies on and around the house.  We used M&M's, but get as creative as you want.


We do this more for fun than presentation, but I have seen some pictured from others that are impressively decorated.  I have also seen just a simple dusting of powdered sugar over the house.  Do as much or as little as you want.

Finally, enjoy your creation!

Picture on the Nordic Ware Bundt Pan.