We've made homemade pizza for years, but the crust also seemed a bit soggy in the middle of the pizza while sometimes being overdone on the sides.
I've limped along using various crust recipes and thicknesses with mediocre success (no matter what, it's hard to replicate commercial or wood-fired ovens) until last night.
I spent a few days doing research on what pizza is like in the birthplace of pizza -- Italy -- and made a few adjustments to my pizza making method that paid off huge!
There are plenty of tidbits of information on making a traditional Italian pizza and the origins and pizza scattered throughout the Internet, but I found all I needed in our
Jamie's Italy cookbook.
Jamie Oliver took some time traveling Italy and learn the secrets and compiled them in a great Italian cookbook with authentic recipes. I've had this little secret in our possession all this time, but only now used it. Ugh!
Anyway, here is what you will need to make this in your home:
- Pizza Stone (Jamie recommends having a slab of marble or granite 1" thick cut for use in your oven)
- Pizza Peel
- Mortar and Pestle (Can do without, but easier if you have one)
- Semolina Flour (Try to not skip this ingredient)
- Quality White Bread Flour
- Fine Sea Salt (I used a celtic sea salt)
- Active Dried Yeast (If you can find SAF instant yeast, use that)
- Golden Caster Sugar (Caster sugar is unrefined sugar. A Sugar-in-the-Raw type product, but ground finer. I used the powder from my recent purchase of Piloncillo.)
- Mozzarella Cheese (I grated a store-purchased block. Try buffalo mozzarella for a true authentic cheese.)
- 28 oz. Can of Crushed Tomatoes
- Extra Virgin Olive Oil
- Garlic
- Fresh Parsley
- Fresh Basil (or dried if off-season)
- Fresh-Cracked Black Pepper
Here are the recipes straight from Jamie's book (followed by my pictures of how I made ours):
Pizza Crust (Pg. 52) (This recipe will make five or six decent size pizzas. The dough can be separated, wrapped and frozen for up to six months or kept in the refrigerator and used within three days):
- 1 3/4 pound strong white bread flour
- 1 1/2 cups fine ground semolina flour OR strong white bread flour
- 1 level tablespoon fine sea salt
- 1/4 oz. envelope active dried yeast
- 1 tablespoon golden caster sugar
- just over 2 cups lukewarm water (and some more yet during the dry Northern winter months)
Place all the dry ingredients on a clean surface and create a large well in the center. Mix the sugar, water and yeast in a separate bowl and wait 5 minutes. Pour the liquid into the well and blend by pulling the sides of the flour mixture into the liquid. When the ingredients start to stiffen, use your hands to knead the dough for about 10 minutes.
When you have a smooth and elastic dough ball, lightly flour and wrap in plastic wrap. Let it sit 15 minutes and divide into pizza dough balls. Roll each ball being used into a super thin (about 1/4") crust. Place on a pizza peel dusted with semolina flour to help it slide onto the pizza stone.
Top with a little of your tomato sauce and few select toppings and a little mozzarella cheese.
Set your stone on the lowest level of the oven and preheat the oven and stone to 500 degrees. When it has reached 500 degrees, slide your pizza off the peel and onto the stone. Bake for 7-10 minutes until lightly browned around the edges.
Use the pizza peel to lift the pizza off the hot stone and enjoy!
Tomato Sauce:
- Extra virgin olive oil
- 1 clove of garlic, peeled and finally sliced
- a bunch of fresh basil (*dried if not in season will work)
- 1 14 oz. can of good-quality plum tomatoes
- Sea salt and freshly ground pepper
Place olive oil and garlic in a pan. Heat until the garlic just starts to turn brown and add basil, tomatoes, salt and pepper. Heat through and continue smashing the tomatoes until smooth (about 20 minutes). Taste and add additional seasoning if necessary.
Garlic Bread: This is a Jamie Oliver recipe using the same pizza dough recipe above and a delicious treat.
- 1-2 cloves of garlic, peeled
- extra virgin olive oil
- 1 tablespoon sliced fresh flat-leaf parsley
- Sea salt and freshly ground black pepper
Smash the garlic up to a paste in a mortar and pestle (we own the Jamie Oliver mortar and pestle and find the size convenient and the quality amazing) and drizzle in 2-3 tablespoons of extra virgin olive oil.
Smear over the pizza base and sprinkle with fresh parsley. Make vertical cuts through out and pull the cuts apart to reveal holes. Sprinkle a touch of sea salt and fresh ground pepper and place in a preheated oven and pizza stone at 500 degrees until golden brown. Drizzle with extra virgin olive oil, cut and enjoy.
Here is my making of our amazing pizza captured in photos:
 |
| Start with a good bread flour and don't skip using the semolina flour. |
 |
| Weigh the ingredients using a food scale to get the right amount. |
 |
| Use a quality yeast. |
 |
| Add a quality fine-ground sea salt. |
 |
| Add caster Sugar to the liquid bowl of lukewarm water. |
 |
| Then in goes the yeast. |
 |
| I keep a little flour bowl to the side to keep my hands dusted while kneading. |
 |
| This is what it looks like when the liquid has been added to the well. |
 |
| Stir together using a fork being careful to not break a wall and let the liquid out. |
 |
| When the liquid has been absorbed, start forming a ball with your hands. |
 |
| The ball will look something like this. |
 |
| Start the kneading process (like giving a great massage) for about 10 minutes. |
 |
| Lightly dust the finished ball, wrap and let rest for about 15 minutes. |
 |
| The tomato sauce ingredients. I used a 28 oz. can of crushed Roma tomatoes. |
 |
| Add the garlic and oil first until the garlic starts to brown. |
 |
| Add basil, tomatoes, salt and pepper. |
 |
| Place your stone on the lowest level of your oven and preheat to 500 degrees. |
 |
| Get your rolling pin ready. |
 |
| Throw down some semolina flour to keep the dough from sticking. |
 |
| Cut a chunk of cheese from your mozzarella block. |
 |
| Grate using a Microplane grater (for ease). |
 |
| The cheese is ready for melting! |
 |
| Roll your dough super thin. |
 |
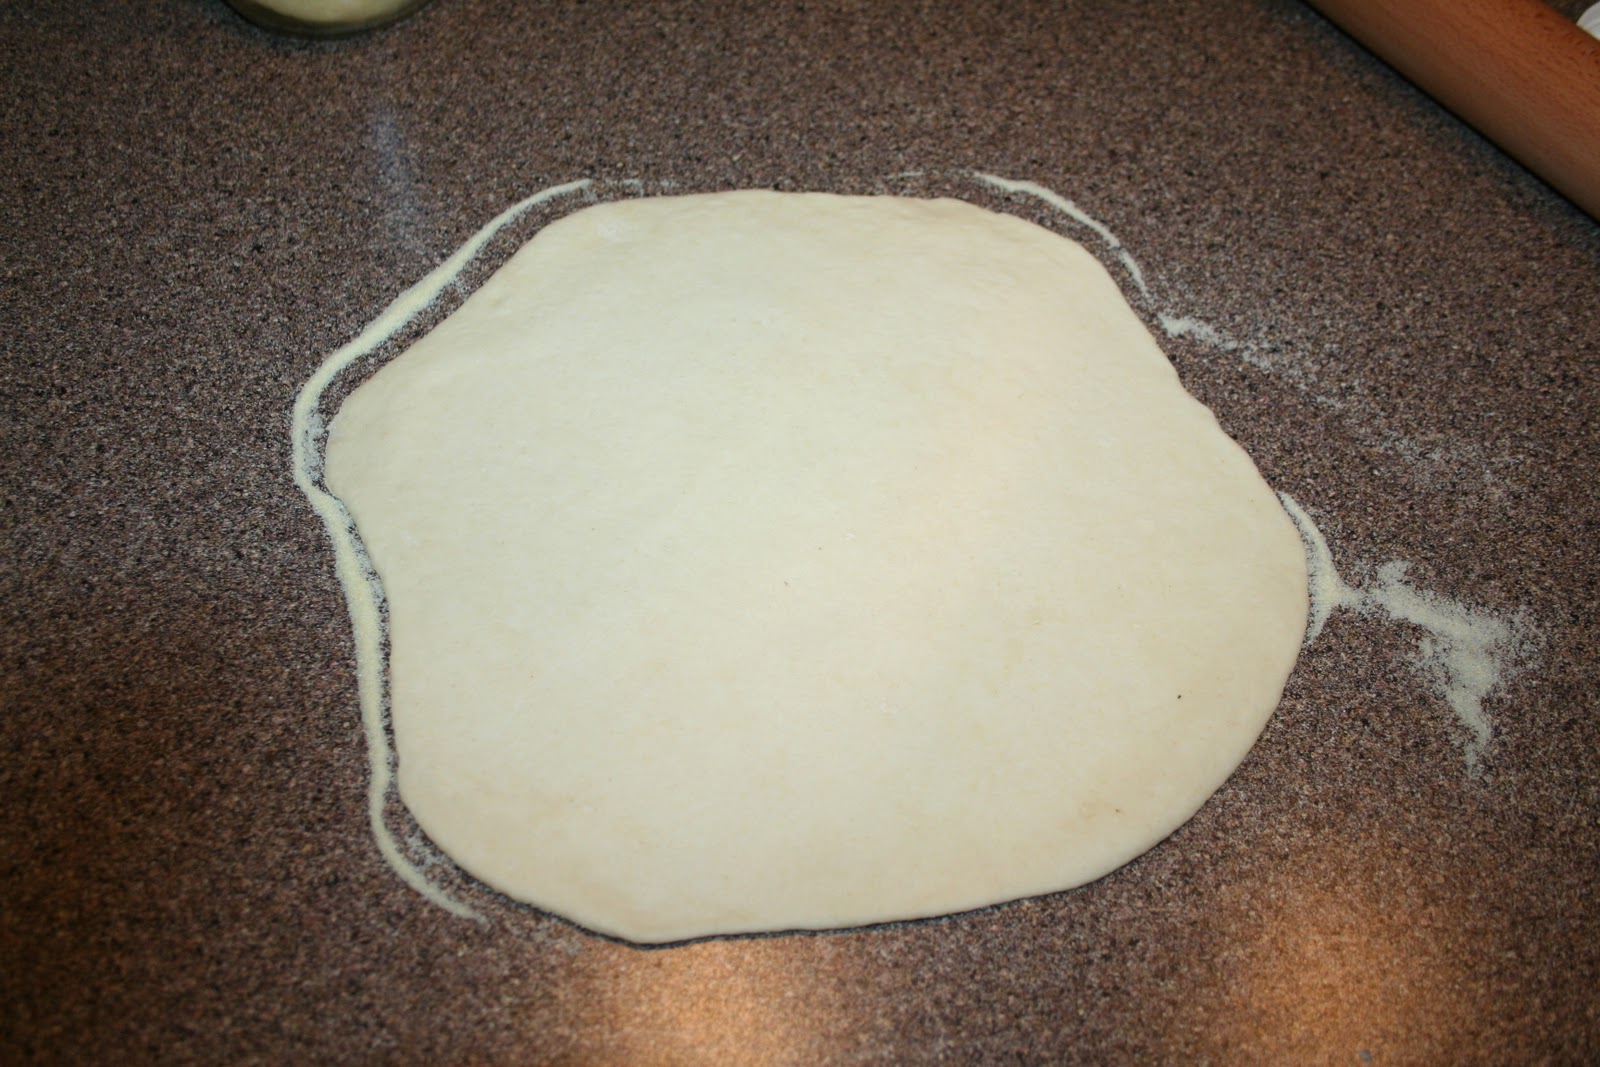
| The odder the shape the better! It means it's real. |
 |
| Get the dough rolled to about a 1/4" thick. |
 |
| Place on a peel that's been dusted with more semolina flour. |
 |
| Add your sauce. |
 |
| Add the toppings (just cheese in this case). |
 |
| Slide onto your preheated stone. |
 |
| 9 minutes later -- perfection!! |
 |
| Look at that cheese! |
 |
| The kids loved it too! A crisp crust all the way through! |
 |
| For the garlic bread we crushed the garlic cloves and olive oil in the pestle and mortar and brushed it on the dough. Make a few slashed and pull apart for crispy baking and easier slicing when it's done. |
 |
| Top with fresh parsley and sprinkle a bit of sea salt and freshly cracked black pepper on top. Slide onto your preheated stone for about 7 - 9 minutes. |
 |
| Cut and serve. Delicious! |
 |
So simple, but so amazing.
I think you will find this absolutely amazing. I know we did.
This is obviously not gluten free. I am still working on trying to master that one. If you have any idea son gluten free crusts let us know. Or, if you try this pizza recipe, let us know how you liked it!
|